Some people think curling irons are essential for styling their hair, but it is nice to be able to pack light. Also, hot tools don't always make it easy to use them. Many people don't think it is always worth the extra work to pull off a curly hairstyle with certain hacks (or heat damage, for that matter). It is why pin curls are a great way to style your hair. This pin curls hair tutorial for overnight may seem hard, but all you need is a bit of hair balm or blow-dry cream for hold, bobby pins, and a blow dryer. If you have enough time, air drying can work just as well. Here's how to do pin curls.
Depending on how thin or thick your hair is, you can use bobby pins or alligator hair clips. Bobby pins are great for thin, short hair, while alligator hair clips are great for thick, long hair because they are slightly sturdy. In this article, we have talked about pin curls hair tutorials with and without heat. Depending on how big you want your pinwheel curls, you can change the number of fingers you use to roll your curls into place. The curl gets bigger the more fingers you use. Read further to learn how to do both pin curls on both long and short hair.
Pin Curls Hair Tutorial Without Heat
1. Wash And Prep Your Hair
For best results, this curls hair tutorial calls for freshly-washed hair, so start using your usual shampoo and conditioner. Once you get out of the shower, comb through your mane so it is tangle-free, and then use a hair-setting lotion to give your curls extra definition and staying power.
2. Divide Your Hair Into Sections
Next, separate your hair into pieces that are 2 to 3 inches wide and ready to curl. Remember that the smaller the sections, the more the curls will be tighter and more defined. It will get you amazing pin curled hairstyles.
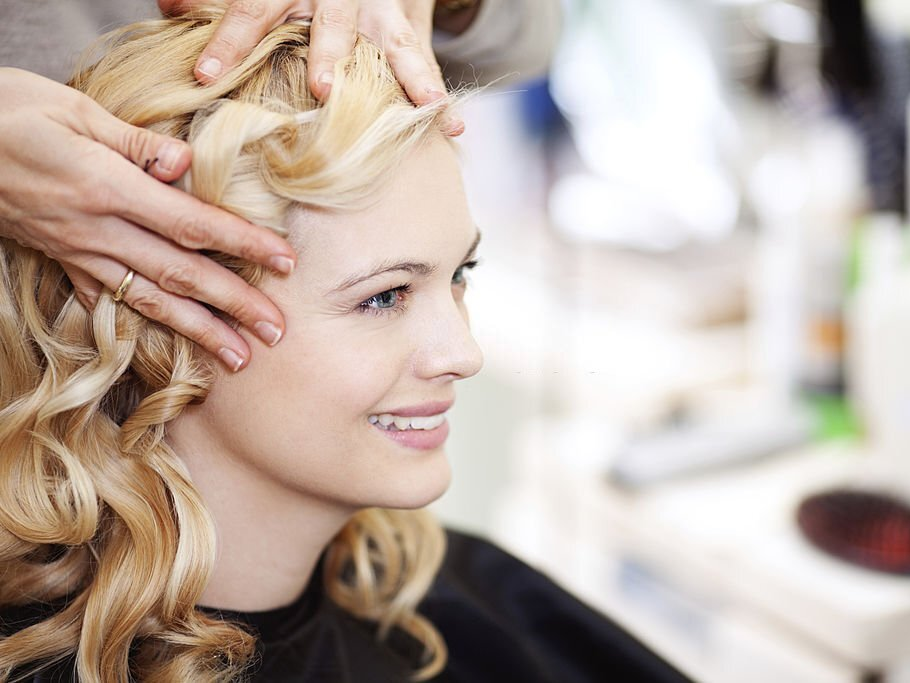 Pin Curls Hair Tutorial Without Heat
3. Create Your First Curl
Taking the first piece of hair to curl as per the pin curls hair tutorial on long as well as short hair, put your finger close to your scalp and wrap the hair around it from root to tip (not tip to root as you would with a curling wand). Take your finger out of the middle of the curl and hold the loop in place with your other hand. Then, take your hairpin and put it through the middle of the curl to keep it in place. Try crossing 2 hairpins together for extra security if your hair is thick.
4. Repeat
According to this pin curls hair tutorial, follow this process to make more pin curls, starting at your hairline and working your way back before moving on to the sides of your hair. Once your whole head is in place, put a silk or satin bonnet over your curls to keep them from getting frizzy or damaged. You could also buy a silk pillowcase, which would have the same effect.
5. Leave Overnight
Now comes the time to wait. Let your curls dry overnight or until they are dry through. It is important not to get too excited and take out your curls too soon since they will likely fall out if they are still wet. This is the best heatless trick to style your hair into waves.
Pin Curls Hair Tutorial With Heat
- Protect your tresses. Since we will use heat for this look, start by spraying heat protection on your hair. Then, brush your hair to eliminate tangles and ensure the product is spread evenly through the lengths.
- Now, take about an inch or two of hair at a time and wrap it around a clampless curling wand. Hold it there for a few seconds. It will help you achieve pin-curled hairstyles.
- As you let go of each hair piece, catch the curl in your palm and twist it back into a loop. Then, use a hairpin to hold the loop close to your scalp.
- Do this to your hair, and then give your curls some time to cool fully. Now is a great time to finish up the rest of your glam routine, like putting on makeup or giving yourself a counterfeit glow.
- The last step of pin curls hair tutorial is to let your curls go, shape them how you want, and spray your hair with hairspray to ensure they last all night. Finito!
Tips For Making Pin Curls On Short Hair Look Better
- Some people reach for a gel to slather it all over their heads when they want to style pin curls on short hair, but water works better. When you have shorter hair, spritzing it lightly with water before curling it and pinning it in place makes it much easier to curl without worrying about the hair slipping out of the pins or looking crunchy or wet.
- By putting a flower in the short pin curls, you can add a splash of color and make the style stand out more. This pin curls hair tutorial is a great way that adds some depth to your look. It is important to tuck the flower above the ear or close to the face and then secure it in the hair, so it doesn't fall to the side.
- The ears stand out more when shorter hair is styled into pin curls. It is a great time to show off jewelry pieces bigger than life. This retro short hairstyle with pin curls will stand out even more if you wear big earrings that sparkle and shine.
- Pin curls on the front of the head can give the style height and volume, and a bandana can be used to cover the back of the head for retro pin curls short hair look. Adding a bandana to the back of the style will do this.
Conclusion
This pin curls hair tutorial can help you achieve amazing curls. Don't give up if your hair does not turn out how you wanted it to. If you are unhappy with your results, remember that hair flowers, bandannas, and hair scarves can help hide the rougher parts of a set. If that does not work, you can save a bad set by styling it into victory rolls, suicide rolls, or bumper bangs with a little practice.
Don't worry if your brush out doesn't curl the way it should. Just take a deep breath, grab some bobby pins and a nylon scarf, and everything will be fine. Next time, you can try again. Always keep in mind that practice makes perfect. We are glad you took the time to read this article on pin curls hair tutorial, and we hope it was helpful.